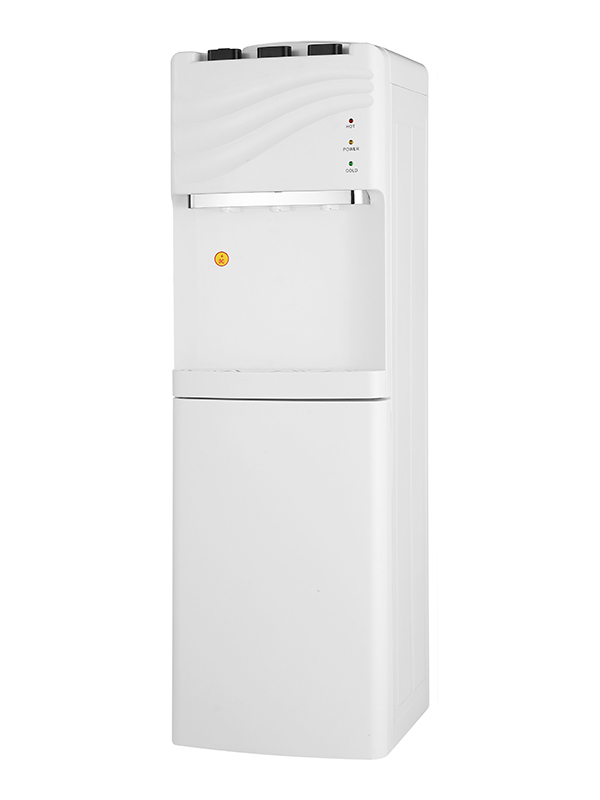
Cleaning a Top-loading Standing Water Dispenser is essential to ensure that the water remains fresh and safe for consumption. Draining the water from the dispenser is a crucial step in this cleaning process.
Turn Off the Dispenser:
Begin by turning off the water dispenser. This may involve switching off the power button or unplugging the dispenser from the electrical outlet to ensure safety during the cleaning process.
Locate the Drain Valve:
Most top-loading water dispensers have a drain valve located at the bottom. It is usually near the back or on one of the sides. The drain valve is a small, usually white, plastic piece that can be rotated to control the water flow.
Prepare a Container:
Place a large container or bucket beneath the drain valve to catch the water. Ensure that the container has enough capacity to hold all the water in the dispenser.
Open the Drain Valve:
Rotate the drain valve counterclockwise to open it. As you do this, water will start to flow out of the dispenser and into the container below. Allow the water to drain completely.
Empty the Drip Tray:
Some water dispensers have a drip tray beneath the faucets. Empty this tray to prevent any residual water from mixing with the fresh water when you refill the dispenser.
Clean the Drain Valve:
After draining the water, take a moment to clean the drain valve. Use a mild detergent and a soft brush to remove any accumulated dirt or debris. This ensures that the valve functions properly when you need to drain the water again in the future.
Inspect for Leaks:
While the water is draining, inspect the area around the drain valve for any signs of leaks. If you notice any leaks, it's important to address them promptly to prevent water damage.
Close the Drain Valve:
Once all the water has been drained, rotate the drain valve clockwise to close it. Ensure that it is securely closed to prevent any water from leaking out when you refill the dispenser.
Refill the Dispenser:
With the water drained and the dispenser cleaned, you can now refill it with fresh water. Use clean, potable water to ensure the quality of the water dispensed.
Turn On the Dispenser:
Finally, turn on the water dispenser to resume normal operation. Allow the water to circulate for a few minutes to ensure that any residual cleaning solution is flushed out.

Customized Purification Direct Drinking Compressor Cooling/Hot top load water cooler with fridge
The water is purified using a filtration system, which removes impurities and pollutants such as chlorine, sediment, and bacteria. The purification system can include multiple stages of filtration, such as a sediment filter, activated carbon filter, and a reverse osmosis membrane, to ensure high-quality water. The top push-type Antibacterial faucet is used at the water outlet, which is convenient and simple.

 English
 عربى
عربى


